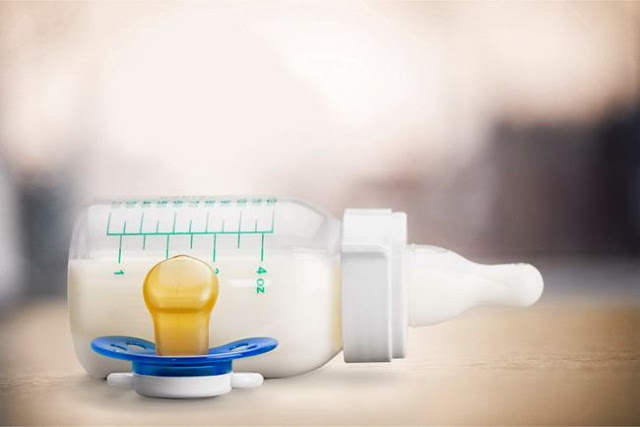
How to Sterilize Milk Bottles to Maintain Baby Health: Sterilizing milk bottles is important to protect baby's digestion. Even though it doesn't have to be done every time, but in certain circumstances, baby milk bottles need to be sterilized. Babies are still susceptible to various diseases. Things that are not harmful to adults can only endanger a baby's life. Non-sterilized milk bottles can increase the risk of infection with viruses, parasites and bacteria in the baby's digestive tract, which can cause vomiting or diarrhea. Sterilization of milk bottles needs to be done especially if the water used to wash milk bottles is not guaranteed to be clean, or if the baby is sick. In addition, sterilization of milk bottles also needs to be done since the first equipment is purchased.
 |
| How to Sterilize Milk Bottles to Maintain Baby Health |
Baby milk bottles are recommended to be washed immediately after use and do not wait for the remaining milk to dry. Remove each part of the bottle, such as a pacifier and lid. Wash as usual under running water with soap until clean from the remaining milk. Even better if you use warm water and a clean bottle brush to clean the inside walls of the bottle.
Here are 3 Ways to Sterilize Milk Bottles to Maintain Baby Health
1. Sterilization using a sterile electric machine
This method only takes about 8-12 minutes. If the bottle is stored in a closed container afterwards, the results of this sterilization can last up to about 6 hours. Place these prone bottles so they are completely sterile. Most of these sterilizers can sterilize six bottles at a time, plus a place for other components such as pacifiers. However, make sure that you do not insert unsafe sterilized equipment such as breast milk pumps. Disadvantages of this method, sometimes you do not have access to the electricity network.
2. Sterilize milk bottles with a microwave
This method only takes an average of 90 seconds. Make sure the bottle cap is open when inserted so that it does not cause a buildup of pressure inside. In addition, you can also place a steamer for the microwave which takes about 3-8 minutes. The results of this sterilization can last up to 3 hours if the bottle is placed in a closed container afterwards. The advantage of sterilizing milk bottles with a microwave is that it does not leave a smell or taste afterwards.
3. Boil the bottle
Heat the pan in water until boiling. Then put all the parts of the milk bottle that have been released into the pan, and let stand for 5-10 minutes. Lift and dry on a dry, clean towel. As much as possible avoid using the same pan for other purposes such as cooking. Read the safety instructions on the milk bottle packaging. Some plastic bottles containing bisphenol A (BPA) are better sterilized in the microwave than in boiling water. This type of plastic bottle can release harmful chemicals if heated, which can then dissolve in milk.
Wash your hands before re-assembling the parts of the milk bottle. Sterilization of milk bottles is recommended to continue until the baby is at least a year old, under certain conditions. In addition, note that bottle teats tend to break faster if sterilization is done by boiling. Dispose of the bottle or any other part of the milk bottle if there are cracks or damage, to prevent bacteria from entering and endangering the baby.


0 comments